
How to build Unreal Engine UI with React
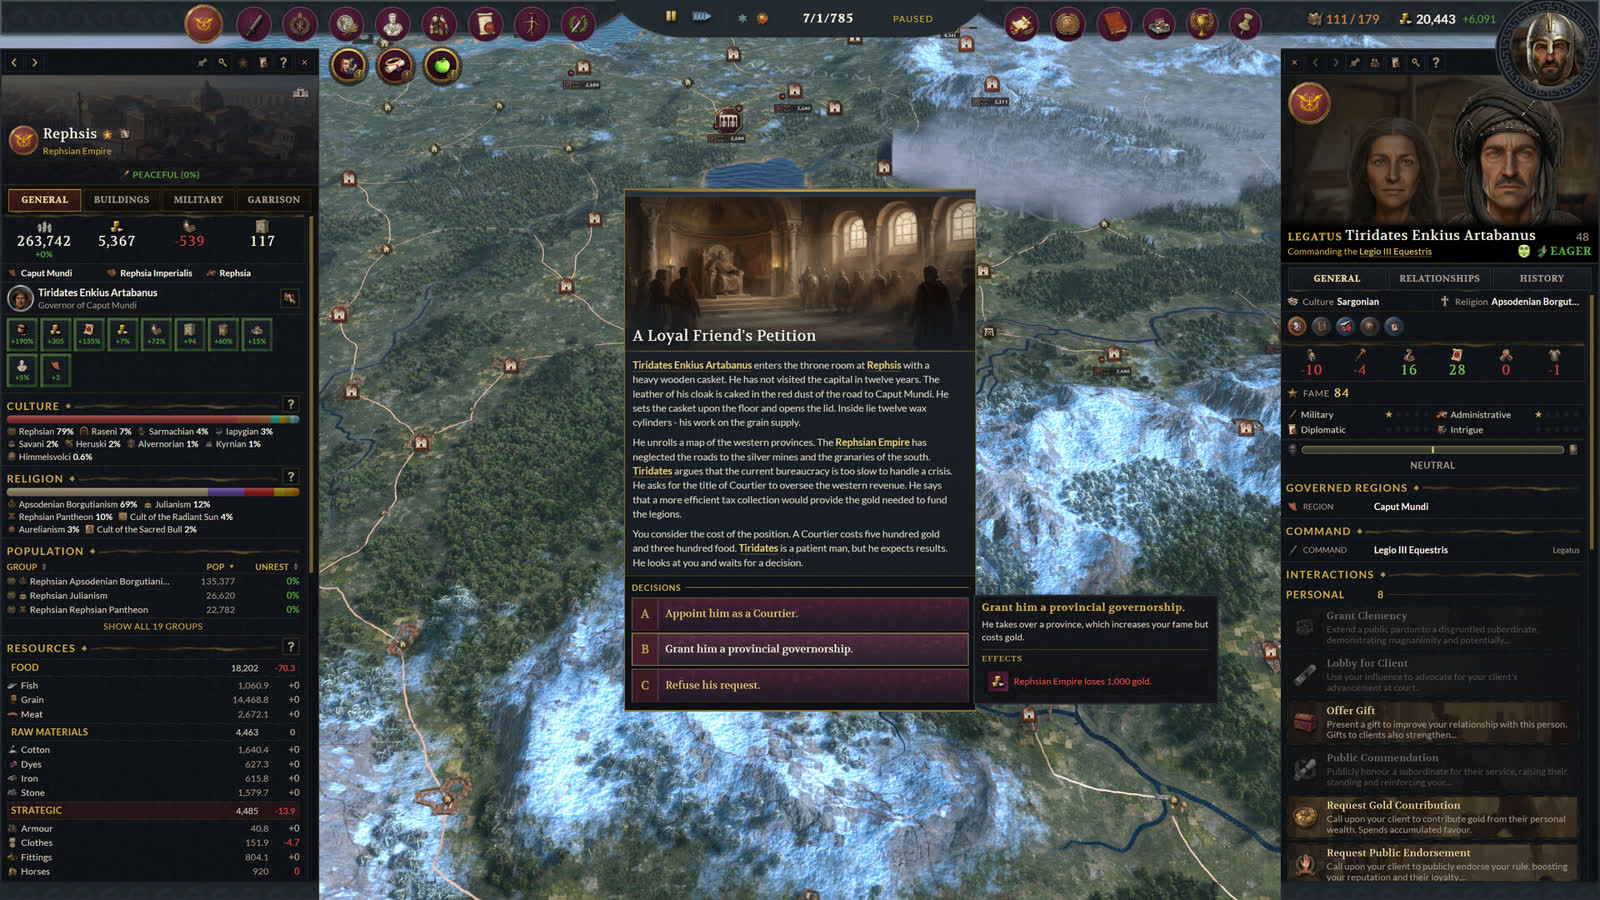
React is a good fit for game UI that has a lot of state: inventories, shops, settings, strategy screens and tooltips. This guide puts a React app inside an Unreal Engine game with Webkiln, then wires it to Blueprint and C++.
You will:
- Create a React and TypeScript app with Vite.
- Load the built app in Unreal as a transparent HUD.
- Call Unreal from React and get a result back.
- Push game state from Unreal into React.
- Inspect it with Chromium DevTools while the game runs.
Webkiln renders the page with Chromium, so anything that works in Chrome works in game. That includes CSS grid, flexbox, SVG, canvas, web fonts and libraries such as Tailwind.
What you need
- Unreal Engine 4.25–5.8 on Windows. The free trial works for everything in this guide.
- Node.js 20 or newer.
- Webkiln installed in your project's
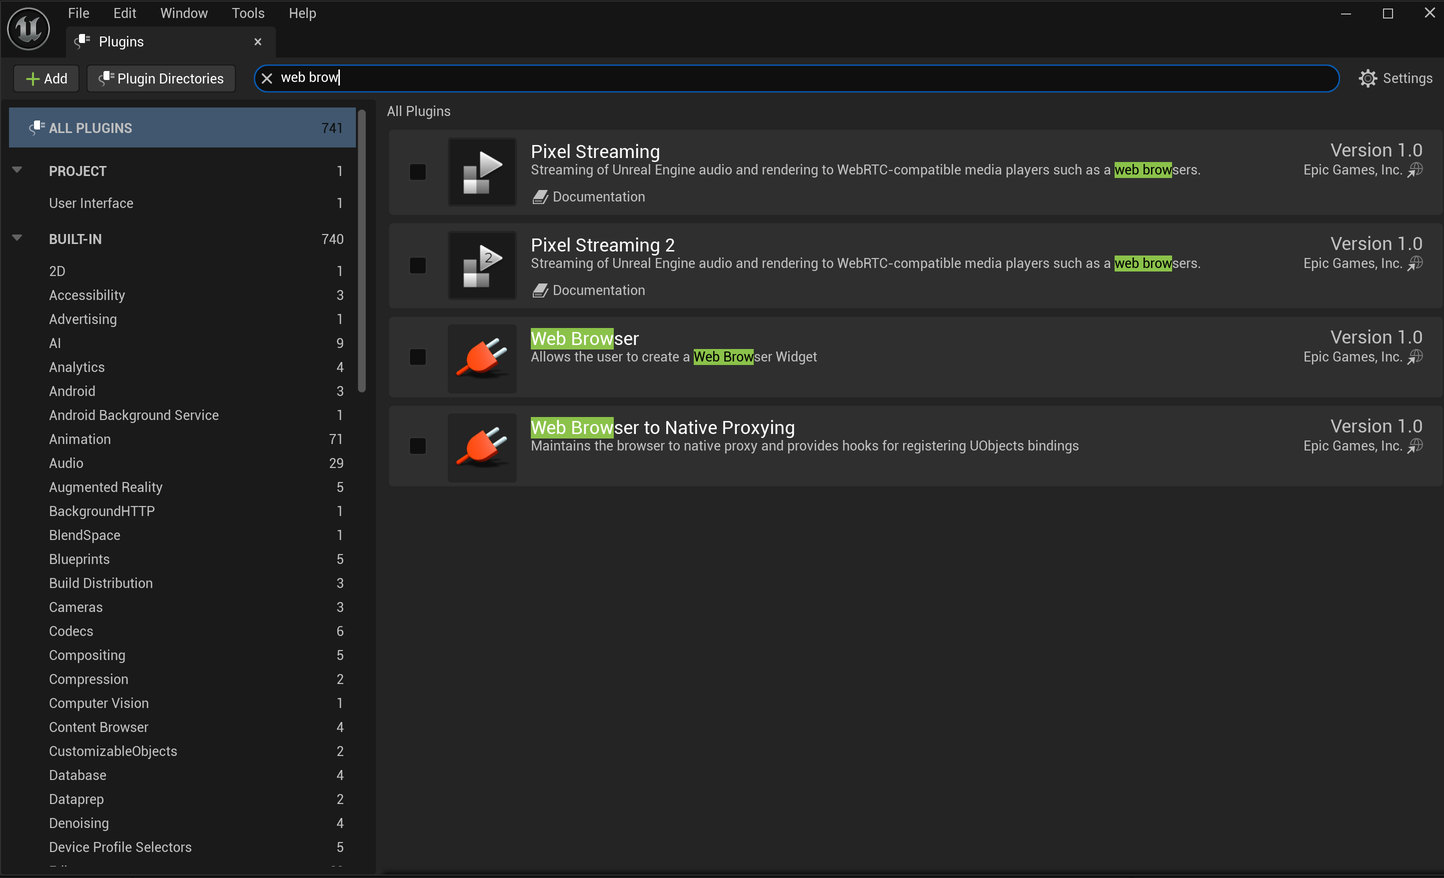
Pluginsfolder and enabled under Edit > Plugins. Turn off Unreal's Web Browser and Web Browser Widget plugins, because only one Chromium runtime can load at once. The getting started guide has screenshots.
1. Create the React app
Create the app inside your Unreal project so it is packaged with the game:
cd MyGame
npm create vite@latest WebUI -- --template react-ts
cd WebUI
npm install
Pages are served from gameui://app/, so build with relative asset paths. Set base in vite.config.ts:
import { defineConfig } from 'vite';
import react from '@vitejs/plugin-react';

export default defineConfig({
  plugins: [react()],
  base: './',
});
Make the page background transparent in src/index.css, so the game shows through everywhere the UI does not draw:
 CSS
html, body, #root {
  margin: 0;
  height: 100%;
  background: transparent;
}
2. Declare the Webkiln API
Webkiln adds a gameUI object to window. Add src/webkiln.d.ts so TypeScript knows about it:
interface WebkilnApi {
  markReady(): Promise<void>;
  request<TResult = unknown, TPayload = unknown>(action: string, payload?: TPayload): Promise<TResult>;
  on<TPayload = unknown>(eventName: string, callback: (payload: TPayload) => void): () => void;
}

interface Window {
  gameUI: WebkilnApi;
}
When your Blueprint actions have request and response structs, Webkiln can generate exact types for every action and event instead. See Generated TypeScript.
3. Write a component that talks to the game
Replace src/App.tsx with a small HUD. It shows the player's health, and its button asks Unreal to use a potion:
 TSX
import { useEffect, useState } from 'react';

type PlayerState = { health: number; maxHealth: number; potions: number };

export default function App() {
  const [player, setPlayer] = useState<PlayerState>({ health: 100, maxHealth: 100, potions: 0 });
  const [error, setError] = useState('');

  useEffect(() => {
    const unsubscribe = window.gameUI.on<PlayerState>('player.updated', setPlayer);
    void window.gameUI.markReady();
    return unsubscribe;
  }, []);

  async function usePotion() {
    try {
      setPlayer(await window.gameUI.request<PlayerState>('player.usePotion'));
      setError('');
    } catch (failure) {
      setError(failure instanceof Error ? failure.message : String(failure));
    }
  }

  return (
    <div className="hud">
      <meter min={0} max={player.maxHealth} value={player.health} />
      <button onClick={usePotion} disabled={player.potions === 0}>
        Potion × {player.potions}
      </button>
      {error && <p className="error">{error}</p>}
    </div>
  );
}
markReady() tells Unreal the UI is mounted and listening. Unreal holds pushed events until then, so the first player.updated is never lost. See When is the page ready?
Build it:
npm run build4. Point Webkiln at the build folder
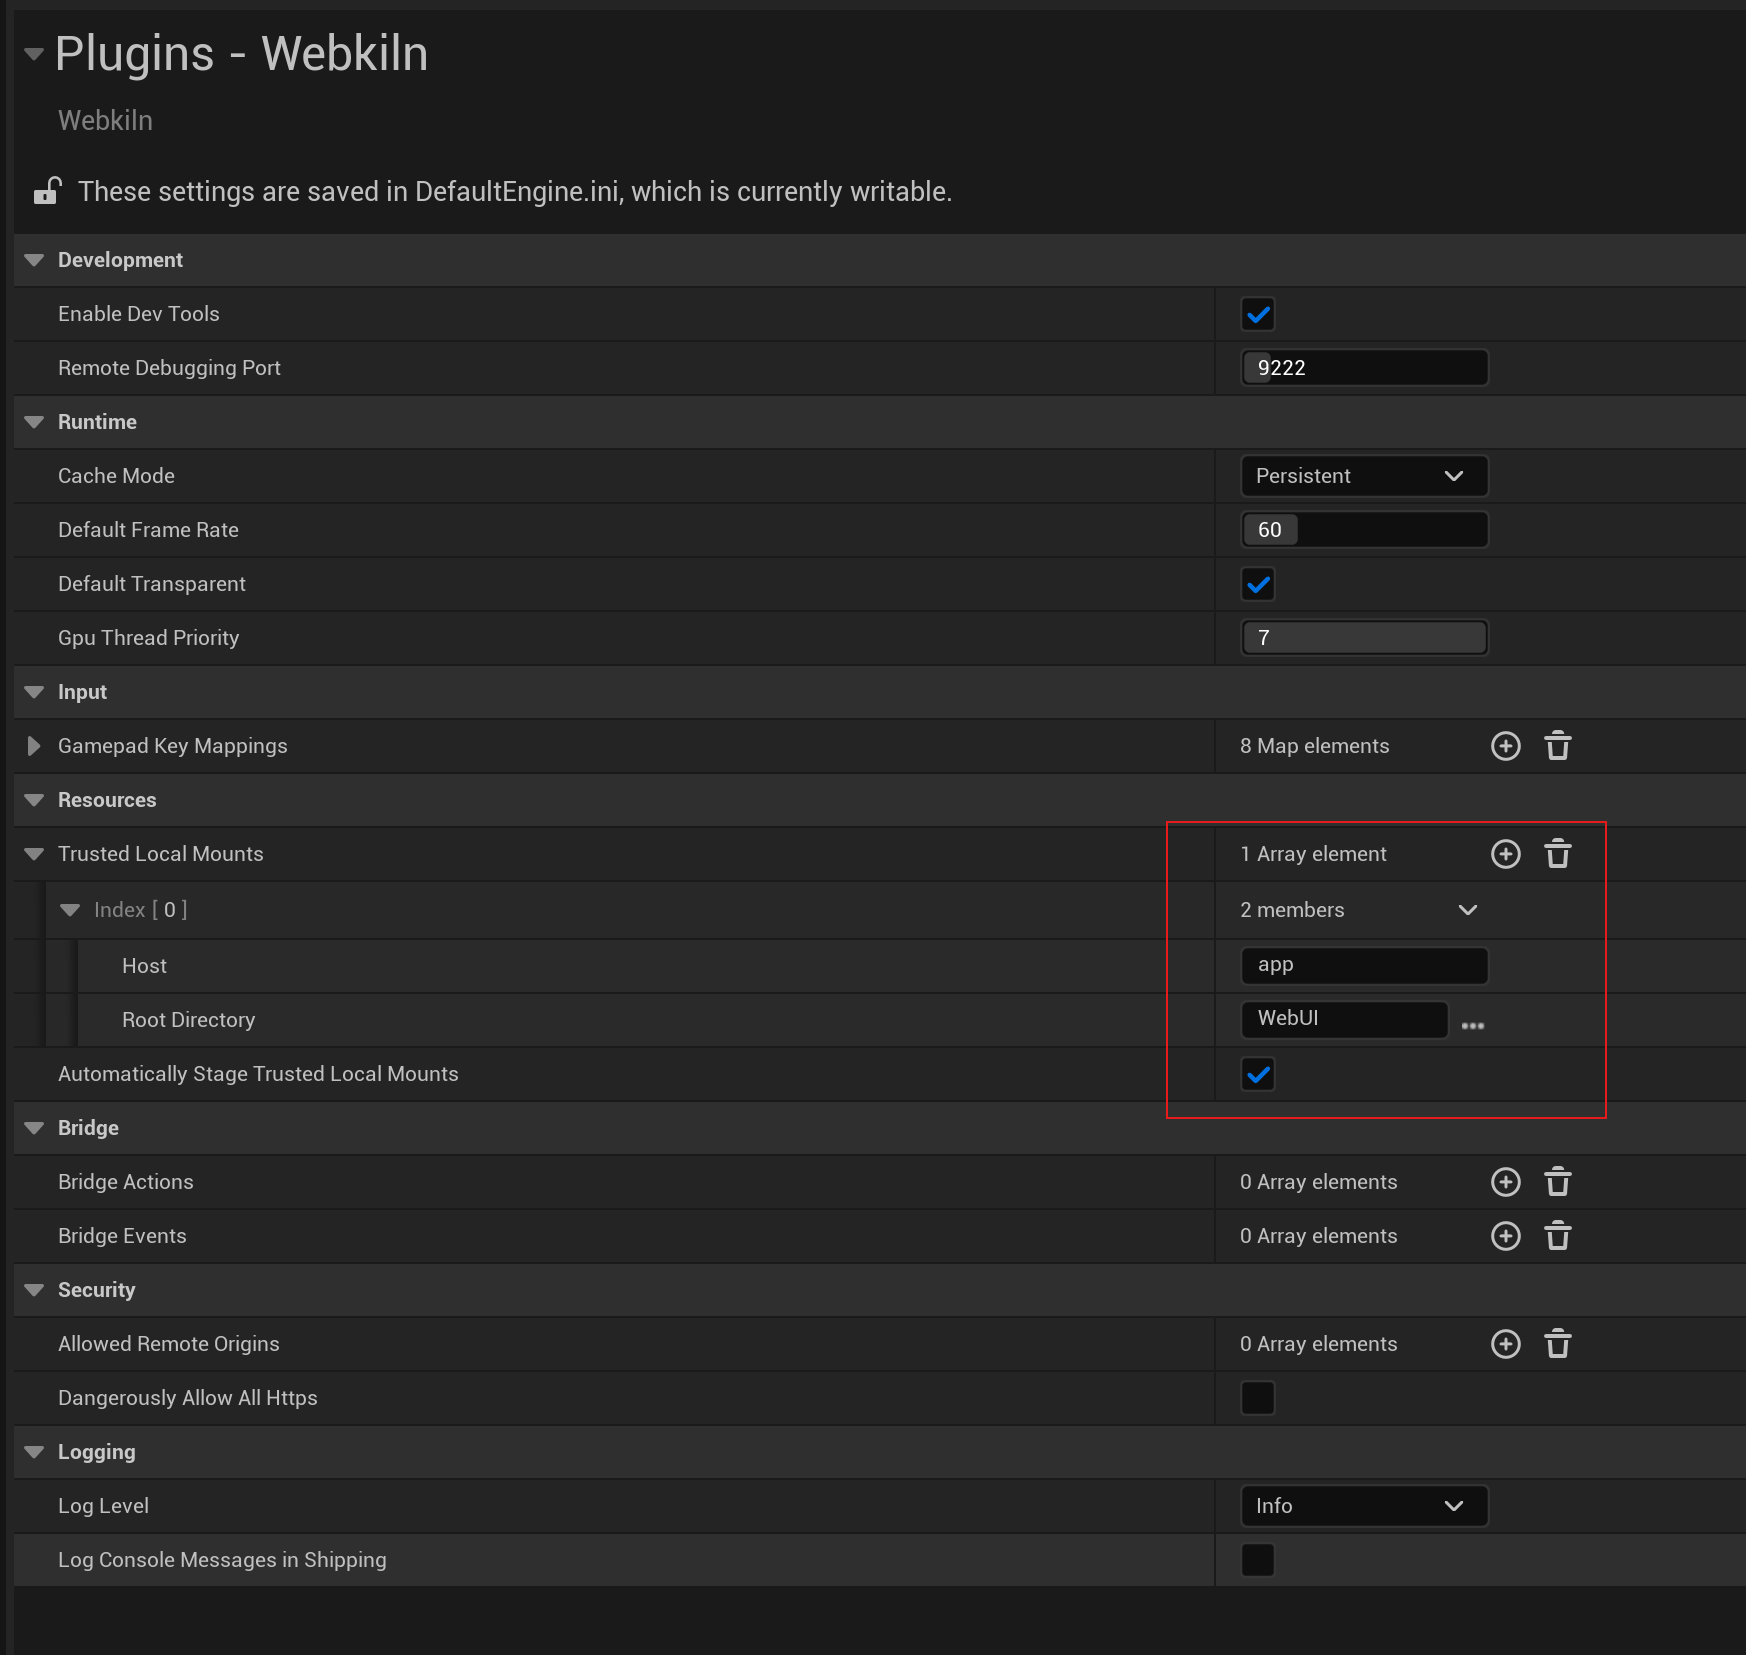
In Unreal, open Project Settings > Plugins > Webkiln > Trusted Local Mounts. Add host app with the folder WebUI/dist, then restart the editor.
The app is now available at gameui://app/index.html. Webkiln reads it through Unreal's file system, so the same URL works in the editor and in a packaged game. With Automatically Stage Trusted Local Mounts on, the folder is packaged for you.
5. Show it on the HUD
Create a view from the game-instance subsystem and put it on the viewport. In C++, add Webkiln to PrivateDependencyModuleNames in your Build.cs, then:
 C++
UWebkilnSubsystem* Webkiln = GetGameInstance()->GetSubsystem<UWebkilnSubsystem>();

FWebkilnViewInitParams Params;
Params.ViewId = TEXT("MainUI");
Params.EntryPoint = TEXT("gameui://app/index.html");
Params.bUseDefaultTransparency = false;
Params.bTransparent = true;

UWebkilnView* View = Webkiln->CreateViewAsync(Params);

UWebkilnWidget* Widget = CreateWidget<UWebkilnWidget>(GetWorld());
Widget->SetView(View);
Widget->AddToViewport();
Leaving width and height at zero sizes the page to the game window. The same nodes exist in Blueprint, and the getting started guide shows the graph.
Press Play. The React HUD appears over the game.
6. Handle the request in Unreal
gameUI.request('player.usePotion') needs a handler. In Blueprint, create a subclass of Webkiln Bridge Action and set Action Name to player.usePotion. Implement Execute: use the potion, then finish with Succeed and the new player state. Stringify Unreal Object turns a Blueprint object or struct into the JSON that React receives. Add the class under Project Settings > Plugins > Webkiln > Bridge Actions.
In C++, you can handle every action in one place. FPlayerState here is your own USTRUCT with Health, MaxHealth and Potions:
C++Webkiln->SetBridgeRequestHandler([this](const FWebkilnBridgeRequest& Request)
{
if (Request.Action != TEXT("player.usePotion"))
{
return FWebkilnBridgeResponse::Failure(TEXT("Unknown action"), TEXT("unknown_action"));
}
if (!UsePotion())
{
return FWebkilnBridgeResponse::Failure(TEXT("No potions left"));
}
FString Json;
FJsonObjectConverter::UStructToJsonObjectString(PlayerState, Json);
return FWebkilnBridgeResponse::SuccessRawJson(Json);
});Return FWebkilnBridgeResponse::Success, SuccessRawJson or Failure from the handler. Blueprint actions with a matching name run first. If the handler fails, the promise in React rejects and error.code says why. The codes are listed in the bridge reference.
7. Push game state into React
When health changes in game, send it to the page. In Blueprint, call Dispatch Webkiln Event (Struct) on the view with the name player.updated and your player-state struct. Unreal's JSON converter turns MaxHealth into maxHealth, which matches the PlayerState type above.
From C++, send the struct to one view:
C++TSharedPtr<FJsonObject> Payload = FJsonObjectConverter::UStructToJsonObject(PlayerState);
Webkiln->DispatchEngineEventToView(TEXT("MainUI"), TEXT("player.updated"), {
FWebkilnEngineEventValue::Json(MakeShared<FJsonValueObject>(Payload)),
});FJsonObjectConverter lives in the JsonUtilities module, so add that to your Build.cs as well.
React re-renders as soon as the event arrives. There is no polling and no tick in your widget.
8. Debug it like a web app
While the game is running, open the Unreal console with ~ and run:
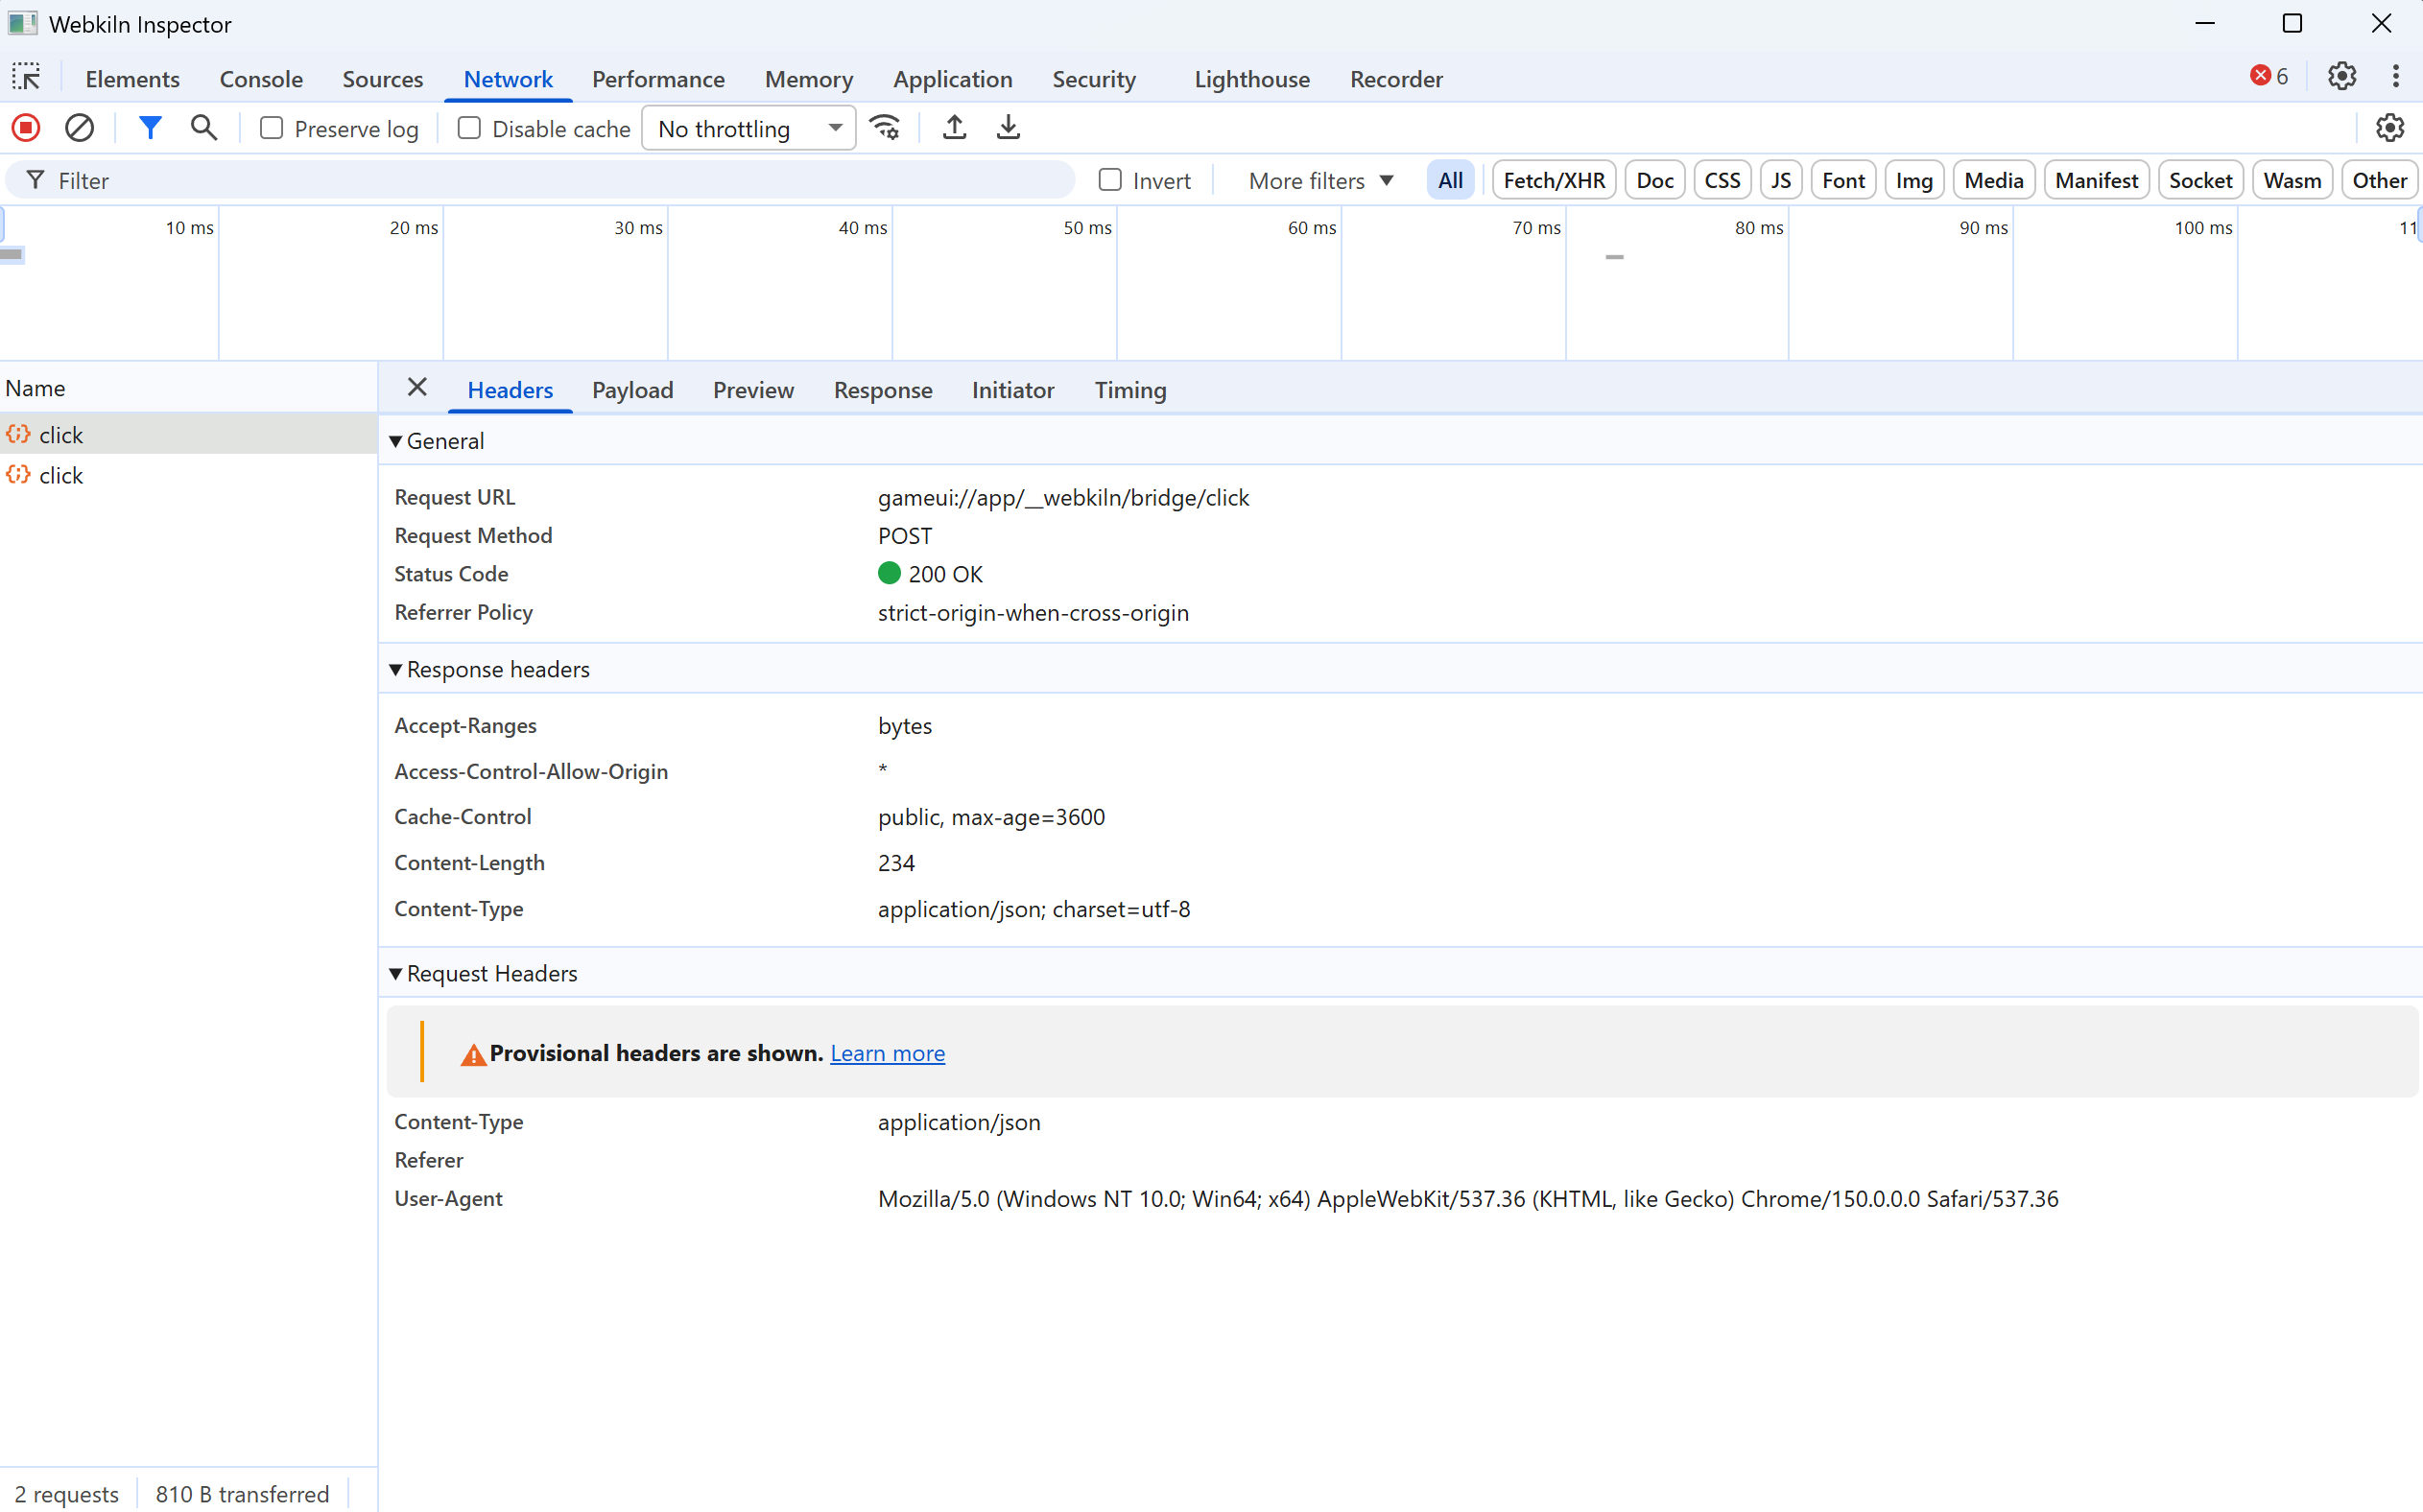
Webkiln.OpenDevToolsYou get the Chromium inspector attached to your live HUD: Elements with live CSS editing, Console, Sources with breakpoints, and Network. Every gameUI.request also shows up in Network under Fetch/XHR, with its payload and response. DevTools is removed from Shipping builds.
Iterating quickly
You can design most of the UI in a normal browser with npm run dev and a stand-in window.gameUI that returns sample data. When you rebuild, restart Play and Webkiln loads the new dist folder.
Next steps
- Make clicks pass through to the game on full-screen HUDs.
- Show live Unreal textures, such as character portraits from a scene capture, inside React components.
- Pin HTML to actors for health bars and labels that stay locked to the world as the camera moves.
- Map gamepad buttons for controller navigation.